
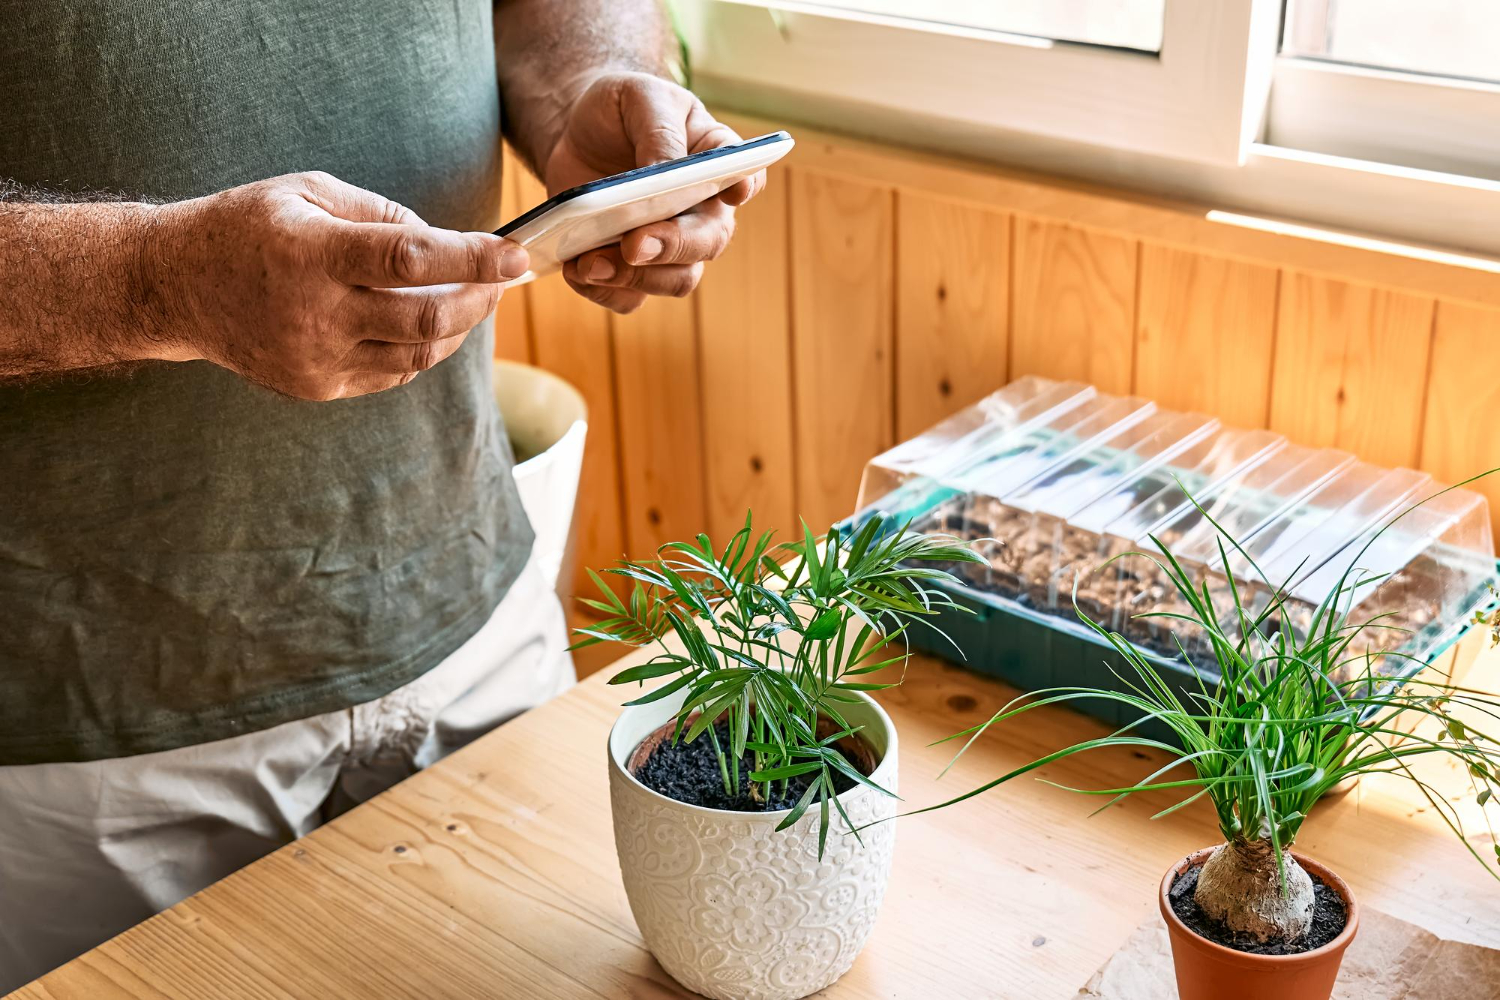
Keeping your indoor and outdoor plants consistently hydrated can feel like a chore—especially when travel, busy schedules, or changing weather patterns interfere. By building a DIY watering automation system, you can ensure your greenery thrives with minimal manual intervention. Leveraging readily available moisture sensors, programmable microcontrollers, and simple irrigation hardware, you’ll create a setup that measures soil moisture, compares it against your thresholds, and triggers watering routines only when needed. This approach conserves water, prevents overwatering, and gives you peace of mind that your plants will stay healthy even when you’re away.
Select and Calibrate Your Moisture Sensors

The heart of any smart watering system is the soil moisture sensor. Capacitive sensors are preferred over resistive probes because they resist corrosion and provide more stable readings. Position each sensor probe at the root zone of representative plants—avoiding surface soil where readings can fluctuate with evaporation. To calibrate, immerse the probe in dry potting mix and record the raw sensor value; then repeat in fully saturated soil. Use these two data points to map raw readings to a percentage scale (0% dry to 100% fully wet). By calibrating for your specific soil type and sensor model, you’ll reduce false triggers and ensure the automation only waters when plants genuinely need moisture.
Program Your Controller for Threshold-Based Triggers
With sensor calibration complete, the next step is configuring your microcontroller—such as an Arduino or ESP8266 board—to read moisture levels and compare them against your target thresholds. Draft a simple script that polls sensor values at regular intervals (e.g., every 10 minutes), averages multiple readings to filter noise, and checks if the moisture percentage falls below your “dry” threshold (for instance, 30%). When the threshold is crossed, the controller activates a relay to open a water valve or power a pump for a predefined duration. Include hysteresis so that once watering starts, it continues until the soil reaches an “already wet” threshold (such as 60%), preventing rapid on/off cycling and water waste.
Design the Water Delivery Mechanism
Depending on your setup—potted plants vs. garden beds—you’ll choose between drip emitters, misting nozzles, or soaker hoses. Connect your water source (a rain barrel, faucet, or reservoir) to a low-pressure pump or a solenoid valve suited to your water pressure. Route tubing from the valve to each plant zone, installing flow restrictors to balance distribution. If you have multiple zones with different watering needs, use a multi-channel relay module so your controller can open individual valves separately. Mount the tubing securely, hiding it where possible for aesthetics, and include a manual override switch for quick shutoff. A well-designed delivery network ensures each plant receives just the right amount of water.
Monitor, Refine, and Expand Your System

After your DIY automation is running, incorporate data logging and notifications for proactive maintenance. Store timestamped moisture readings and watering events on an SD card or send them to a cloud service, allowing you to visualize soil trends and optimize thresholds over seasons. Configure email or push alerts to notify you of low water reservoir levels or any valve failures detected by unexpected power draws. Regularly review logs to fine-tune watering durations and sensor placement—plants’ needs can change with growth or seasonal shifts. Finally, expand your lifehacks by integrating a light sensor to delay watering during peak sun hours, or connect to weather APIs to skip irrigation when rain is forecast. With ongoing refinement, your system evolves into a robust, water-smart guardian for your plants.
Leave a Reply